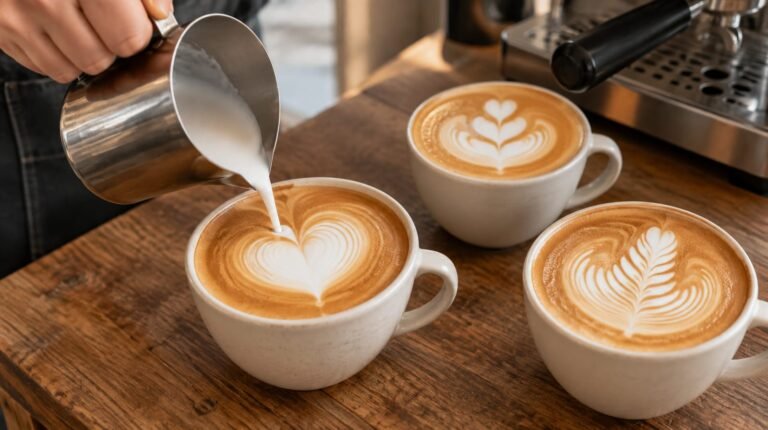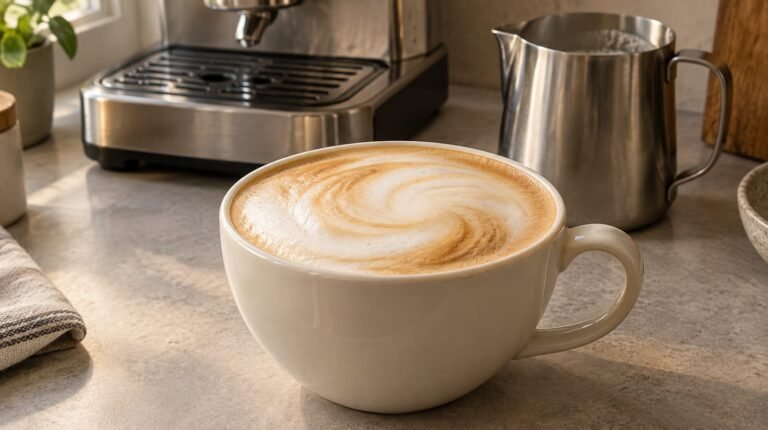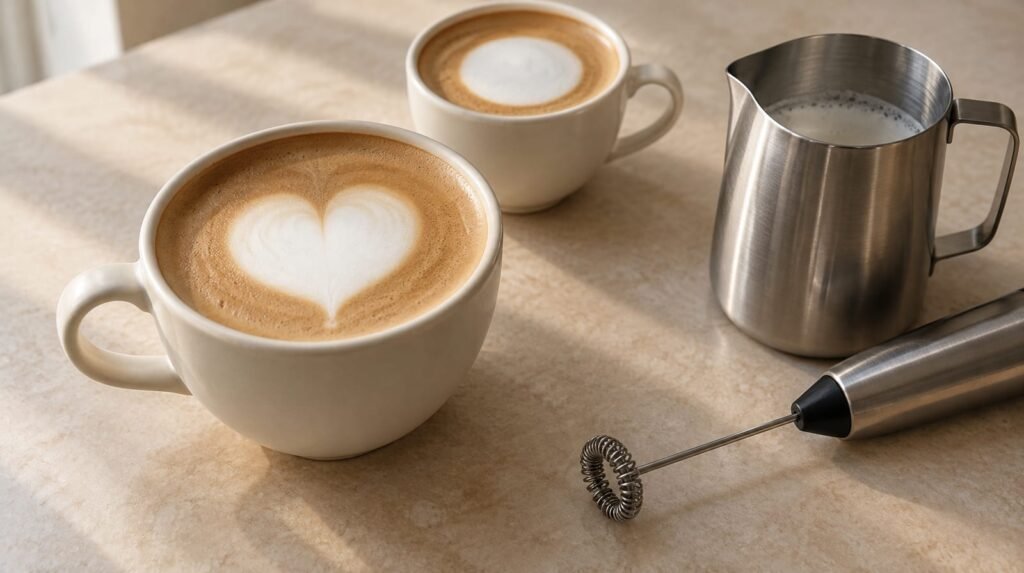
Can you make latte art without using steamed milk? Yes: Lavazza lists a manual milk frother as an alternative to a steamer. Barista Hustle has also demonstrated that cold milk foam can produce basic poured designs.
The distinction is texture, not just whether the milk has been steamed. Perfect Daily Grind explains that microfoam’s small, evenly sized bubbles give milk the smooth consistency needed for detailed patterns.
For your first attempt, try warmed milk and a handheld frother. CoffeeBlog’s Kev reports recognisable designs using that approach, though he finds suitable texture harder to achieve without a steam wand. Treat cold foam as a simpler-design option: Barista Hustle found it too thick and stiff to pour anything more than a simple monk’s head.
The guide below separates pouring a pattern from decorating a foamy surface, then explains the warm and cold routes, texture fixes and practice options.
This article was produced with the help of AI and reviewed before publication.
In this article
- Can you make latte art without steamed milk at home?
- Warm and froth milk, then pour a simple heart
- Pour a basic design with cold foam
- Make a foamy latte with a jar
- Fix sinking patterns, blobs and separating foam
- Practise without milk or fresh coffee
- Choose your route and keep the target simple
Can you make latte art without steamed milk at home?
Yes: steam is not the only route. Prima Coffee allows other frothing methods, provided they produce microfoam. Quick Mill describes microfoam as milk and air combined into fine foam. Plain, unfoamed milk is therefore not an equivalent substitute: skipping steam does not mean skipping aeration.
Choose heat and aeration for easier pouring
For a warm drink, heating and mechanical frothing are the sensible starting choice. Barista Hustle explains that heat helps milk proteins reach bubble surfaces more easily.
Bean Box takes a stricter position, saying a steam wand is necessary for pourable microfoam. Yet CoffeeBlog’s Kev estimated that roughly half his pours resembled latte art after several weeks of experimenting. His method appeared effective only with whole milk. That makes it a workable experiment, not a promise of consistent results.
Choose cold foam for a simple design
Choose cold foam if avoiding heat matters more than elaborate patterns. In Barista Hustle’s trial, Lloyd Meadows achieved pourable cold foam on his second attempt after reducing air intake. He also found that forcing the foam out left designs poorly defined. Treat cold pouring as a controlled-flow exercise rather than an intricate-pattern challenge.
Distinguish poured art from surface decoration
Poured art forms its pattern through the milk stream, as Quick Mill explains. Surface decoration is a different option: Lavazza suggests reshaping a design with a toothpick, or using stencils with powdered chocolate or sauce. Choose decoration if the appearance matters more to you than practising the pour.
Start with the warmed-milk route, with a simple heart as your target.
Warm and froth milk, then pour a simple heart

For a first attempt, pair Kev’s heated-milk technique with a simple heart pour. Treat the milk preparation and the pouring as separate jobs: first develop the texture, then use it to draw.
Heat whole milk before whisking
CoffeeBlog’s Kev heats the milk separately, then uses a battery-powered handheld frother in a metal pouring jug. For this particular method, use whole milk; his attempts with semi-skimmed milk were largely unsuccessful.
His microwave timing varies with the quantity of milk, so it is a starting range rather than one fixed setting. Keeping your milk quantity consistent between attempts should make that starting point more useful.
Add air briefly, then circulate
The distinction is between adding air and moving the milk. Kev’s surface whisking introduces air; the longer, submerged stage keeps the milk circulating without drawing in more. He describes the finished texture as velvety.
Longer surface whisking is not the goal: Kev attributes excessively thick, bubbly milk to too much aeration. Judge this attempt by the texture rather than by how much foam rises in the jug.
Lower the spout to draw the heart
The pour has two distinct stages. Meraki describes an initially slender, elevated stream that mixes into the coffee, followed by a lower, broader stream that forms the pattern. The following sequence combines Kev’s frothing method with that basic heart-pouring approach.
- Prepare your espresso in a broad, shallow cappuccino cup. Kev finds this shape easier for pouring designs.
- Microwave the whole milk before frothing. Kev uses 45–90 seconds, varying the heating time with the amount of milk.
- Transfer the heated milk into a metal pouring jug, as Kev does for his handheld-frother method.
- Aerate with the frother’s whisk at the milk’s surface for about one second, following Kev’s timing.
- Lower the whisk beneath the surface and angle it to circulate the milk for about 40 seconds. In Kev’s method, this stage should not draw in additional air.
- Tap the jug against the worktop twice. Kev uses these taps to remove larger bubbles.
- Swirl the jug several times before pouring, following Kev’s finishing step.
- Tilt the espresso cup towards the jug at about 45°, the starting angle in Nisbets’ heart instructions.
- Begin a slow, thin pour into the espresso’s centre. Prima Coffee recommends starting about 7–8 cm above the cup; Nisbets places the pour centrally.
- Lower the spout towards the drink when the cup is about one-third full, following Lavazza’s suggested point for beginning the design.
- Gradually increase the jug’s tilt to broaden the stream and let a white circle expand. Meraki recommends increasing the flow progressively rather than releasing a sudden surge.
- Bring the cup gradually upright as the circle grows, moving the jug with it, as Nisbets’ heart instructions describe.
- Lift the jug slightly and pass a narrower stream through the circle to finish the heart, following Meraki’s finishing movement.
If you want to try the cold route instead, begin with a simpler target.
Pour a basic design with cold foam
Yes—choose the cold-foam route if you want to avoid heating altogether. Keep your target modest: a white circle rather than an intricate pattern. Treat this as a pouring experiment, not a dependable shortcut to detailed art.
Use homogenised milk and limit air intake
Choose homogenised milk for this method. In Barista Hustle’s cold-foaming trial, unhomogenised milk did not hold its bubbles. Homogenised milk initially produced too much froth, so the choice of milk alone is not enough.
The NanoFoamer breaks bubbles into smaller ones by driving them through a mesh, according to Barista Hustle. The aim here is controlled aeration, not the largest possible cap of foam.
Pour a circle rather than an intricate pattern
Use Barista Hustle’s cold preparation with the controlled pouring movements below. Finish with a circle so you can concentrate on the stream without adding a heart’s cut-through.
- Chill your prepared espresso for the cold drink proposed by Barista Hustle.
- Put the chilled espresso into a cup taken directly from the freezer, as Barista Hustle suggests.
- Add cold homogenised milk to your pouring jug for the NanoFoamer method.
- Foam the milk with the NanoFoamer, keeping its head submerged whenever possible to limit air intake. Barista Hustle reports that its makers advise against cold-foam latte art; keep expectations modest.
- Swirl the jug before pouring to bring the liquid and foam together, following Prima Coffee’s pouring guidance.
- Tilt the cup towards the jug. Prima Coffee recommends an angle of 30–45° for pouring.
- Begin with a slow, slender stream into the coffee to establish the mixed background. Prima Coffee recommends starting about 7–8 cm above the cup; Meraki describes this elevated stream as the mixing stage.
- Lower the spout until it is just above the drink’s surface to begin the white shape, following Prima Coffee’s guidance.
- Increase the jug’s tilt gradually to widen the stream and let the circle expand. Meraki warns against an abrupt surge.
- Bring the cup progressively back to level as the circle grows, then stop the stream to finish, following Prima Coffee’s guidance.
Make a foamy latte with a jar
Yes, you can make a foamy latte without steaming milk or using a frother: The Kitchn’s method uses heated milk and a lidded jar. Choose this route for a spooned foam topping, rather than as a reliable free-pour method.
Heat and shake the milk safely
The Kitchn recommends heating before shaking for more stable foam. Keep the lid off during microwave heating; Fork in the Kitchen specifically warns against microwaving the metal lid.
- Prepare your espresso in the serving cup.
- Fill a microwave-safe jar no more than halfway with semi-skimmed milk or skimmed milk. The Kitchn specifies 2% or nonfat milk.
- Microwave the milk uncovered for about 30 seconds, following The Kitchn’s method.
- Remove the jar using a towel or potholders to protect your hands, as Fork in the Kitchen advises.
- Secure the lid tightly.
- Shake vigorously for 30–60 seconds. The Kitchn describes the milk becoming frothy and roughly doubling in volume.
- Open the jar slowly, keeping your hands protected: Fork in the Kitchen warns that pressure may have built up.
- Pour the warm milk into the espresso, using a spoon to hold the foam back.
- Spoon your preferred amount of foam onto the drink.
Spoon on foam or decorate its surface
Treat the spooned topping as the finished result, or choose surface decoration. Lavazza suggests a cappuccino stencil with powdered chocolate, while a toothpick offers a way to adjust a misshapen design.
After your first attempt, focus on the fault you can change next rather than switching methods immediately.
Fix sinking patterns, blobs and separating foam
Milk disappearing during the initial mixing pour is normal, according to Meraki. Diagnose sinking only when you are trying to leave a white shape on the surface.
Change one pouring or texture fault
Change one thing per attempt, starting with spout position rather than immediately changing your frothing method. Meraki recommends checking pouring height before adjusting aeration.
- Keep the milk quantity, starting temperature and pitcher consistent between attempts. Meraki recommends this to help distinguish pouring faults from texture changes.
- Swirl the pitcher before pouring if watery milk emerges before a dense lump of foam. Meraki says swirling reunites separated layers, but cannot fully rescue dry, rigid foam.
- Lower the spout towards the drink when your pattern sinks, tilting the cup towards it without submerging the outlet. Meraki recommends lowering earlier if you repeatedly run out of room.
- Broaden a tiny or indistinct drawing stream by gradually increasing pitcher tilt once the spout is close. Meraki warns that a sudden surge can displace the design or fill the cup prematurely.
- Increase aeration modestly on the next attempt if the milk still behaves like thin liquid after correcting spout height. Meraki recommends this adjustment for milk with insufficient incorporated air.
- Reduce air intake on the next frother attempt if the foam forms a rigid blob instead of spreading. Taste of PhD recommends admitting less air when mechanically frothed milk becomes too thick and bubbly.
Pour promptly and allow time to learn
For steam-free milk, aim to pour promptly after frothing rather than waiting for a timed window. Taste of PhD warns that waiting lets foam separate from liquid milk.
Prima Coffee’s warning about standing for 30 seconds or more applies to steamed milk becoming harder to recombine. Do not treat that as a measured deadline for handheld-frother or cold-foam pours.
Kev’s mixed results after weeks of practice are a useful expectation, not a guarantee. He also reports better results from pouring decisively rather than overthinking the movement.
For further practice, decide whether you want another drink or a cup used solely to rehearse your movements.
Practise without milk or fresh coffee
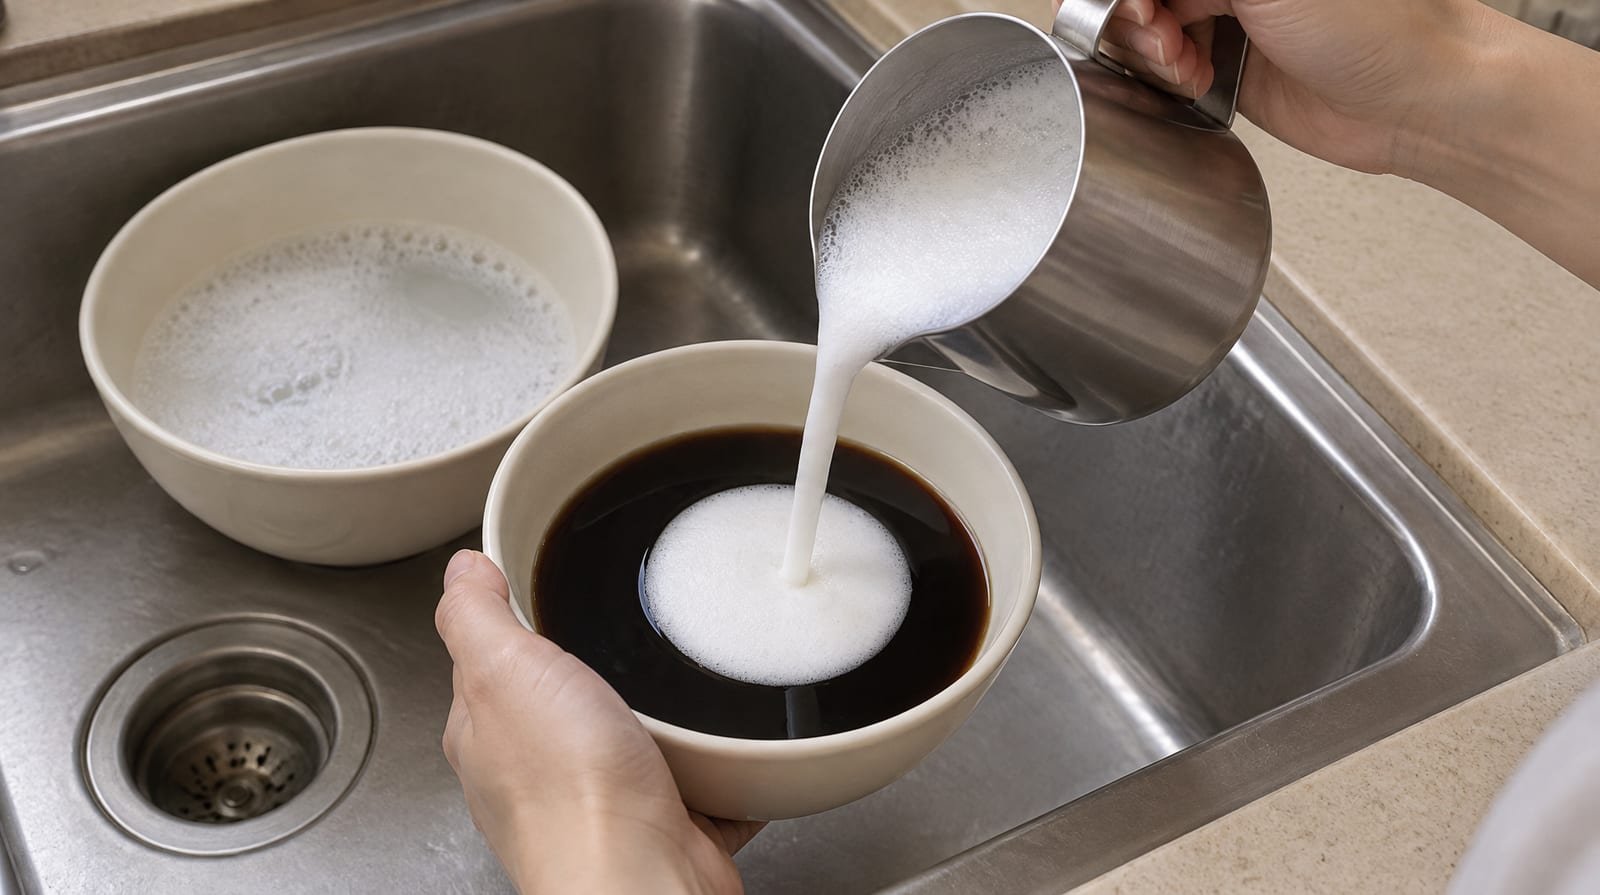
Yes—you can rehearse latte-art pouring without milk or coffee, using foamed soapy water and a dark soy-sauce base. Nicole Battefeld’s method uses a steam wand, so it suits milk-free practice rather than practice without steaming equipment.
Prepare a non-drinking practice cup
Treat this as a pouring drill, not a drink. Battefeld recommends dark soy sauce for contrast and soapy water as a milk substitute. La Marzocco also describes a milk-free practice method using washing-up liquid, water and old espresso.
Choose soy sauce if you want to avoid coffee entirely; choose old espresso if you already have some to use. Neither route needs a fresh espresso prepared solely for practice.
Foam practice water and pour a circle
Use Battefeld’s quantities for the substitute liquids, then rehearse Meraki’s simple-circle pouring movements. Keep the target modest: a spreading circle gives you a clearer exercise than several gestures combined.
- Measure about 25 ml of dark soy sauce into your practice cup, following Battefeld’s recommendation.
- Half-fill your pouring jug with cold water, as Battefeld instructs.
- Add one drop of concentrated washing-up liquid to the water.
- Position the water’s surface at the steam-wand tip.
- Steam the mixture while gradually lowering the jug to develop foam, following Battefeld’s method; stop steaming before pouring.
- Swirl the jug to prepare for the pour. Battefeld includes swirling among the movements this mixture lets you practise.
- Tilt the cup towards the jug and begin with a high, thin stream, adapting Meraki’s initial mixing movement.
- Lower the spout close to the surface and gradually widen the stream to form a circle, following Meraki’s drawing movement.
- Bring the cup progressively upright as the circle expands, following Meraki’s finishing movement.
- Discard the practice mixture without tasting it.
- Rinse the cup and jug thoroughly before using them for drinks.
Compare attempts without wasting food
Battefeld says soap foam separates quickly, limiting intricate practice. Aim for a prompt, simple pour rather than a slow, elaborate pattern.
La Marzocco recommends comparing successive attempts to identify technique problems and decide what to change. Judge the circle’s spread and your control, then choose one adjustment for the next pour. This saves milk and fresh coffee, although the soy-sauce route still uses a food ingredient.
Choose your route and keep the target simple
For your next pouring attempt, choose warmed whole milk and a handheld frother. CoffeeBlog’s Kev achieved recognisable designs with that combination, although his results remained inconsistent. Treat a recognisable heart as a useful target, not a guaranteed result.
Choose cold foam if you want to explore a basic circle. Barista Hustle reports that cold foam can produce simple poured designs, but its rigidity can limit more elaborate patterns.
Choose the jar route if a foamy drink matters more to you than free-pouring. The Kitchn’s method finishes by spooning foam onto the coffee. Decorating that surface is a separate goal from learning to pour a pattern.
Keep your next attempt focused: use one route, aim for one shape and change one thing at a time. Judge progress against your previous pour rather than an intricate design.
Sources
- Latte Art: a guide for beginners, what is it and how to do it — lavazza.co.uk
- Iced Latte Art — baristahustle.com
- How to make latte art at home without an espresso machine — perfectdailygrind.com
- Pouring Difficult Latte Art Without a Steam Wand — coffeeblog.co.uk
- The Complete Guide to Pouring Latte Art — prima-coffee.com
- How to steam milk for latte art step-by-step — quick-mill.com
- How to Steam Milk for Latte Art (Microfoam Fix) — beanbox.com
- Why Does Latte Art Sink? 5 Causes and Fixes — merakitech.com
- How To Steam & Froth Milk For Latte Art & Cappuccinos Guide — nisbets.co.uk
- How to Make a Latte at Home (Without an Espresso Machine!) — thekitchn.com
- 5-Minute Homemade Latte (No Fancy Equipment!) — forkinthekitchen.com
- How to Steam Milk Without Any Fancy Equipment — roastingparty.com
- Latte art – Creating microfoam milk without a steamer — tasteofphd.wordpress.com
- BCB Drops – is there a sustainable way of practicing latte art? — nicolebattefeld.com
- practice latte art (without using milk!) — lamarzocco.com