If your espresso shots are too acidic, start by checking extraction rather than immediately changing beans. Sage says an overly coarse grind or a shot that runs too quickly can produce sour, sharp flavours.
The useful distinction is between sourness that needs correcting and brightness you simply dislike. Meraki distinguishes hollow, under-extracted espresso from bright coffee that still has sweetness, body and a clean finish.
Taste is not just a pH reading, either. In drip-coffee experiments published by the Specialty Coffee Association, titratable acidity predicted perceived sourness more effectively than pH. That finding concerns drip coffee, not espresso, but helps explain why chemical acidity and perceived tartness deserve separate attention.
This guide explains dose, yield and brew ratio, then helps you choose which variable to change. You’ll also learn how to use shot time as a clue and recognise when a different roast better suits your taste.
This article was produced with the help of AI and reviewed before publication.
In this article
- How to fix espresso shots that are too acidic
- Check whether you are tasting sourness, bitterness or pleasant acidity
- Use shot time as a clue, not a pass-or-fail rule
- Choose different beans when the remaining brightness is not to your taste
- Aim for balance, not an acidity number
How to fix espresso shots that are too acidic
Choose the adjustment that matches the flow: grind finer for a fast, evenly flowing shot, or increase the yield when even flow still produces sour espresso. Keep these as separate experiments rather than changing both together.
Dose is the weight of dry coffee in the basket; yield is the weight of espresso collected. Brew ratio compares those weights. A 1:2 ratio means collecting twice the dose: 18 g of coffee produces 36 g of espresso.
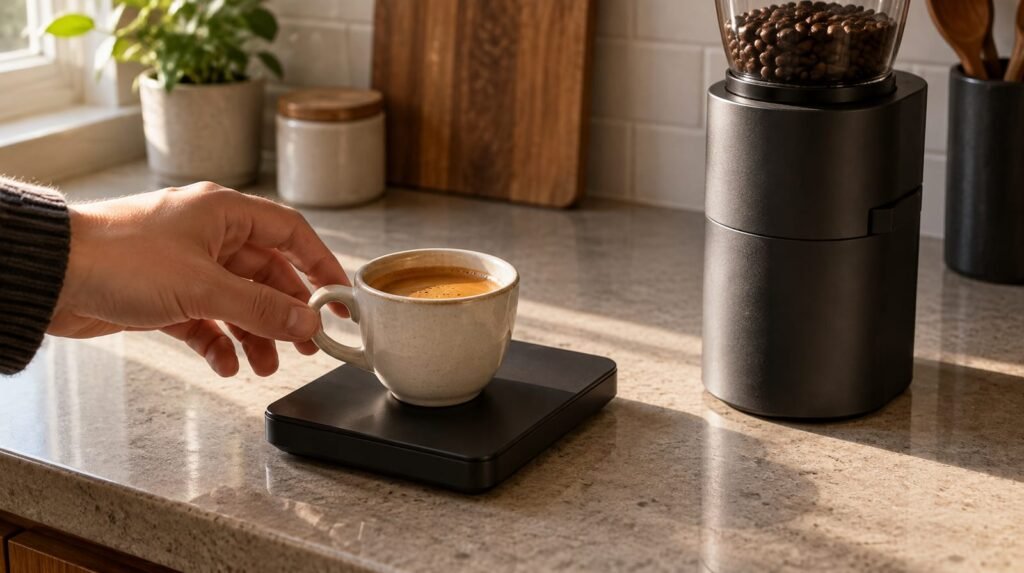
Measure the espresso with scales rather than judging its volume. Clive Coffee explains that crema, flow rate and cup shape make volume an unreliable measure. A weighed target gives you a repeatable stopping point for each comparison.
For fast, evenly flowing shots: grind finer
Start with a small grinder adjustment, not a different dose. Sage says finer grounds can slow extraction, but grinding too finely can restrict or stop the flow. The useful setting is therefore finer enough to improve flavour, not the finest your grinder permits.
Uneven flow needs a different response. Barista Essentials describes channelling as water passing unevenly through the puck and recommends clump-free distribution with an even tamp. Correct that preparation before treating every fast shot as a grinder-setting problem.
- Set a fixed dose suited to your basket. Meraki recommends matching the basket’s rated dose. If it suits an 18 g dose, use Clive Coffee’s starting recipe of 18 g in and 36 g out.
- Prepare the baseline puck with evenly distributed grounds, breaking up clumps and tamping evenly, as Clive Coffee recommends.
- Pull the baseline shot onto scales and stop at twice your dose: 36 g for an 18 g dose. Record the grind setting, dose, yield, time and taste, following Meraki’s logging advice.
- Move the grinder one click finer, keeping dose and yield unchanged, as Clive Coffee recommends for sour espresso. For the 18 g example, the next shot still uses 18 g and stops at 36 g.
- Prepare and pull the comparison shot with the same even distribution and tamp. Taste it before making another adjustment; Clive Coffee recommends changing only one variable at a time.
- Repeat small adjustments towards a finer setting if the flavour improves but remains sour, following GUSTATORY’s incremental approach. If flow becomes excessively slow or clogged, back away from that setting: Sage warns against grinding too finely.
Holding dose and yield steady makes this a useful comparison: you are testing the grind rather than a new recipe. Keep the better-tasting setting as your baseline. There is little value in continuing finer once the cup stops improving.
For evenly flowing shots that remain sour: increase the yield
Try a longer shot before making another grinder change. Di Stefano recommends increasing the final liquid yield without adjusting the grinder. This is a separate test of the stopping point, rather than another attempt to slow the flow.
- Fix the dose and grinder setting at your current baseline. For an 18 g basket recipe, start from 18 g in and 36 g out, the 1:2 starting point used by espressoaf.com.
- Prepare an evenly distributed, clump-free puck and tamp it evenly, following Barista Essentials’ preparation advice.
- Pull the shot onto scales, allowing more espresso into the cup before stopping. For an 18 g dose, espressoaf.com suggests increasing a sour shot’s yield to 40 g.
- Taste the shot and record its grind setting, dose, yield, time and flavour, as Meraki recommends. Keep the grinder and dose unchanged for the next comparison.
- If the 40 g shot remains too sour, test 44 g from the same 18 g dose. This is another higher-yield example given by espressoaf.com.
- Keep the yield that tastes better balanced. If increasing yield makes the shot too bitter, shorten it again; espressoaf.com recommends a shorter brew ratio for excessive bitterness.
The Coffee Chronicler recommends ratios of 1:2.5–1:3 to extract more sweetness and dilute the shot. That makes a longer ratio worth trying when balance matters more to you than maintaining a concentrated, short espresso.
Using the 18 g starting dose, those ratios calculate to 45 g and 54 g of espresso respectively: multiply 18 by 2.5 or 3. Treat these as further comparison points, not quantities every coffee must reach.
Expect a trade-off rather than an unlimited improvement. The Coffee Chronicler describes longer ratios as less concentrated, while Clive Coffee warns that excessively high yields can become bitter. Prefer the shortest tested yield that gives you the balance you want.
With those recipe comparisons in hand, the next question is what counts as an improvement in the cup.
Check whether you are tasting sourness, bitterness or pleasant acidity
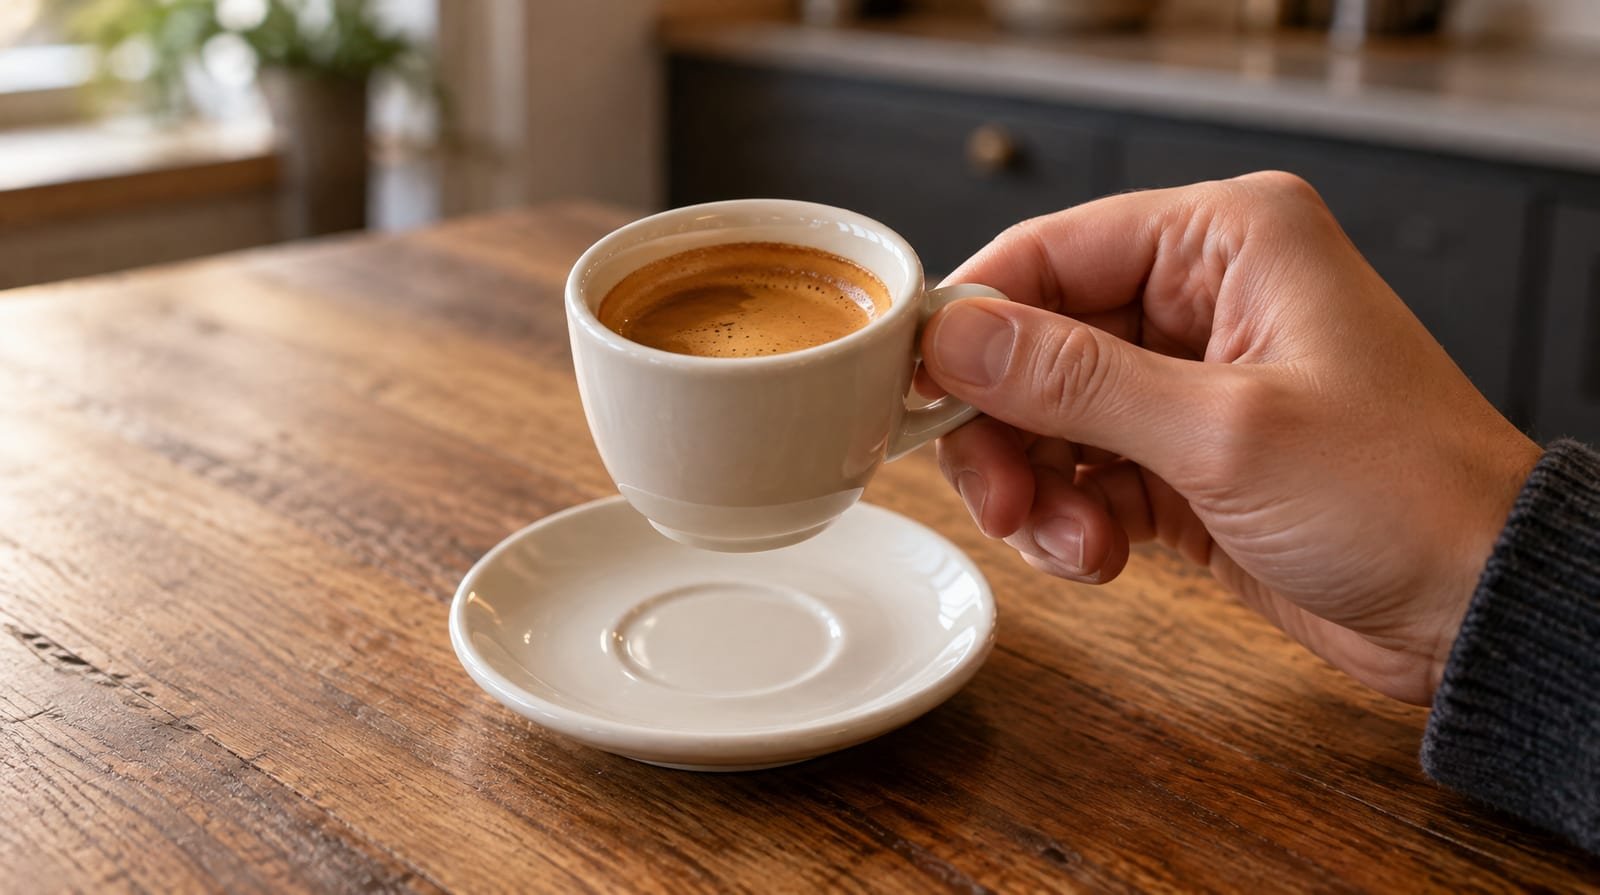
Yes, espresso is acidic. Outin gives a typical espresso pH of around 5.5, but that is not a target for dialling in. The useful question is whether the acidity tastes balanced: Profitec describes troublesome sourness as flavours falling out of balance.
Taste for sharpness, sweetness and a drying finish
For a practical distinction, Clive Coffee describes insufficient extraction as sharply citrus-like, while excessive extraction produces an ashy bitterness that lingers. Di Stefano describes excessive sourness as resembling lemon or green apple. These are useful flavour comparisons, not proof of a particular brewing fault.
Pleasant acidity need not be faint. Achilles Coffee Roasters explains that sweet flavours and layered aromas can turn strong acidity into a juicy, wine-like impression. Without enough sweetness, even less acid can taste harsh. Judge the relationship between flavours rather than treating every citrus note as something to remove.
- Taste the shot and assess how strongly its tartness stands out against the other flavours. Achilles Coffee Roasters recommends starting with relative sourness, rather than an isolated acidity score.
- Look for sweetness alongside that tartness. Following Achilles Coffee Roasters’ tasting approach, decide whether acidity supports the sweet flavours or overwhelms them before they develop.
- Describe the dominant sensation. Use Di Stefano’s lemon and green-apple comparisons for sourness, or Clive Coffee’s lingering ash-like character for bitterness.
- Assess the finish for a drying, astringent sensation alongside sourness or bitterness. Achilles Coffee Roasters associates this combination with channelling or uneven grind distribution.
- Taste the same espresso again as it cools, tracking whether tartness becomes more prominent or bitterness recedes. Primo Caffe describes these contrasting changes during cooling.
If the shot tastes both sour and bitter, resist choosing whichever label seems stronger. Clive Coffee explains that uneven extraction can produce both in one cup. A mixed result is therefore a reason to investigate unevenness, not automatically to push extraction further in either direction.
Compare the same shot as it cools
Primo Caffe says sourness becomes sharper as espresso cools, whereas bitterness tends to become less pronounced. That makes the cooling comparison useful when the first sip leaves you uncertain. Treat the direction of change as another clue, rather than a verdict.
Achilles Coffee Roasters explains that cooling changes both aroma release and sensitivity to taste. A different impression from the same cup does not mean its extraction has changed. For diagnosis, the useful comparison is how the balance develops, not simply which sip tastes strongest.
Separate perceived tartness from pH and titratable acidity
A pH reading describes hydrogen-ion activity on a logarithmic scale; a lower reading indicates a more acidic chemical environment, explains Achilles Coffee Roasters. It does not describe sweetness, aroma or the finish. Keep that measurement separate from your judgement of whether the espresso tastes enjoyable.
Titratable acidity measures something different. Achilles Coffee Roasters describes adding base to a measured amount of coffee until a specified endpoint, then recording how much was needed. Coffees with similar pH can require different quantities of base. This measurement reflects neutralisable acidity, but is not identical to total acid concentration.
The distinction matters when judging a brewing adjustment. In drip-coffee experiments published by the Specialty Coffee Association, pH changed little with extraction. The strongest, least-extracted brews tasted most sour; weaker, more-extracted brews tasted least sour. Those results concern drip coffee, so they are not an espresso recipe.
For your espresso, use the tasting comparison to define the problem before changing the recipe. Correct overpowering sharpness, distinguish it from lingering bitterness, and leave enjoyable brightness alone. A chemical reading is not a flavour target.
Once you have identified the flavour problem, you can give shot time its proper role: a clue to investigate, rather than the result to chase.
Use shot time as a clue, not a pass-or-fail rule
What the 30-second rule actually means
The rule means aiming for roughly 25–30 seconds as an initial benchmark for a standard double, according to Meraki. It is a starting window, not a certificate of good flavour.
The timing convention matters too. Cworks counts ordinary espresso from pressing the shot button, including pre-infusion. It distinguishes some advanced light-roast methods, where timing begins with the first drops.
That makes a bare instruction to “pull for 30 seconds” incomplete. Compare times only when the starting point matches, and judge the result alongside your weighed dose, yield and taste.
Why a 30-second shot can still taste sour
A Home-Barista contributor, Ricci, reported very acidic espresso despite extracting 42 g from a 21 g dose over 30 seconds. That is an individual experience, not a universal recipe.
Time cannot compensate for every extraction problem. Sage identifies insufficient water temperature as another reason espresso may extract poorly. A shot can therefore meet your timing target without resolving the cause of its sharpness.
Sage recommends a modest increase in brewing duration for sour espresso. However, espressoaf.com says some light-roast shots remain acceptable even when obtaining the intended output takes over 40 seconds.
So how long should you pull an acidic shot? Use 25–30 seconds to orient your diagnosis, rather than imposing a deadline. Keep the weighed output meaningful; do not chase extra seconds as an independent goal.
How to judge advice from Reddit and other forums
Treat a Reddit reply as a proposed test, not a rule for your machine. Prefer advice that gives the dose, final output, timing convention and tasting result, rather than seconds alone.
Check whether its conditions match yours before adopting its target. An anecdote can suggest what to investigate, but your own balanced result is a better stopping point than another brewer’s stopwatch reading.
Beyond the timing target lies a more personal question: is the remaining brightness a flavour you actually want?
Choose different beans when the remaining brightness is not to your taste
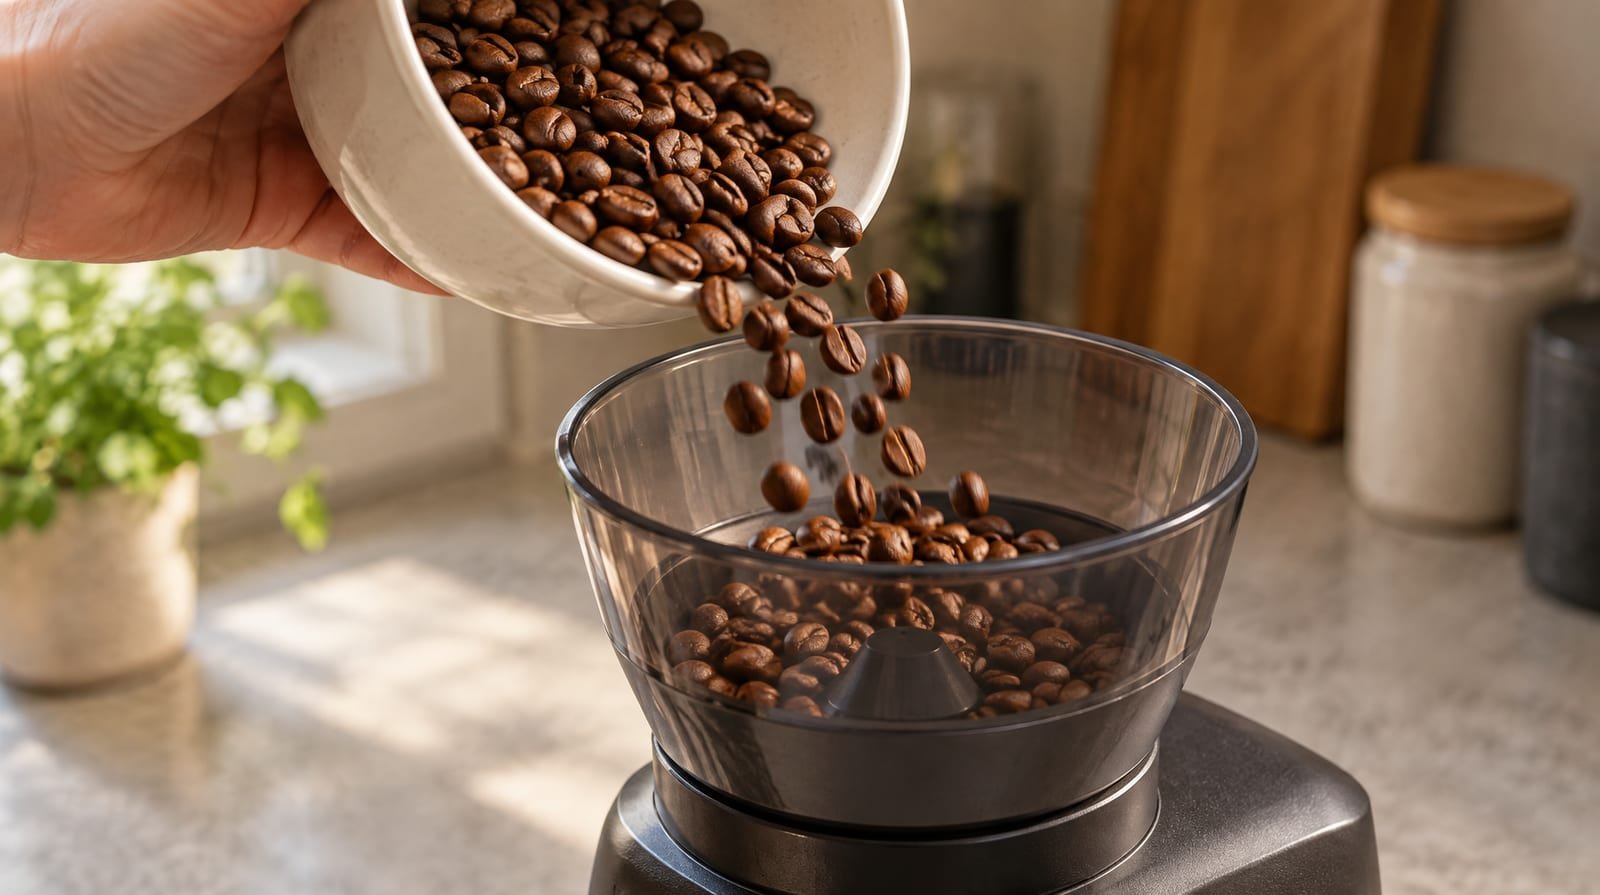
Changing beans is a useful next step when recipe adjustments leave brightness you simply do not enjoy. Treat it as a flavour choice after troubleshooting, rather than the automatic answer to every sour shot.
Try a medium or dark roast for easier extraction
Sage associates very lightly roasted coffee with greater natural acidity and flavours resembling flowers or tea. It also describes darker beans as soluble and suited to espresso extraction. That makes roast level worth considering alongside your recipe.
The Coffee Chronicler says medium and dark roasts generally extract more readily for espresso than lighter roasts. A medium roast is the sensible first comparison if you want an easier starting point without immediately choosing a dark roast.
For a less tart flavour direction, Barista Essentials recommends coffees described with caramel, chocolate or hazelnut notes. Darker roasting offers another option, but Kaffeemacher warns that reduced acidity often comes with greater bitterness. Choose according to which flavour you would rather soften.
Freshness matters separately from roast preference. Profitec recommends allowing beans to release gas after roasting and avoiding coffee roasted months earlier. It says stale beans lose oils and flavour compounds, reducing depth. Sage recommends buying whole beans and grinding them immediately before brewing.
Distinguish a roast preference from a brewing fault
Meraki recommends comparing a second bag or a medium roast before continuing to change the grind. Use that comparison to decide whether your goal is correcting the brew or choosing coffee you prefer.
A useful illustration comes from Home-Barista contributor Weeksbs: a coffee-shop shot tasted similarly sour to their home espresso, even after the barista made adjustments. That comparison did not prove fault-free brewing, but it made the coffee itself worth questioning.
If you prefer the alternative beans, keep them; there is no need to pursue brightness you dislike. If both coffees remain unpleasant, treat the comparison as inconclusive rather than assuming every bag needs a darker roast.
Aim for balance, not an acidity number
You can now choose a comparison that matches the symptom. For fast flow, grind is the sensible first variable: Sage says finer grounds slow extraction. For a shot that remains sour, espressoaf.com recommends increasing the yield.
Judge success by flavour balance, not an assumed change in pH. In the Specialty Coffee Association’s drip-coffee experiments, titratable acidity predicted perceived sourness more effectively than pH. That finding helps separate the measurements from the sensation; it is not an espresso recipe.
A medium roast is a sensible next comparison if you want easier extraction; The Coffee Chronicler says medium and dark roasts generally extract more easily than lighter roasts. Meraki distinguishes hollow sourness from brightness with sweetness, body and a clean finish. If your shot has that balance but still tastes too bright, choosing different beans is a preference decision, not a troubleshooting defeat.
Sources
- What causes sour espresso? — sageappliances.com
- Espresso Tastes Sour: Diagnosing Under-Extraction — merakitech.com
- Coffee Acidity Explained: pH, TA, Sourness & Flavor — achillescoffeeroasters.com
- Manipulating and Measuring a Key Attribute in Drip Brew Coffee | 25, Issue 15 — sca.coffee
- Why Is My Espresso Sour or Bitter? How to Fix It — clivecoffee.com
- How To Fix Sour Espresso — distefano.com.au
- Dialling In Basics — espressoaf.com
- Sour espresso? How to fix sour or bitter espresso for good — barista-essentials.com
- Dialling In Your Espresso Coffee. Grind Size — gustatory.co
- 5 Ways to Fix Sour Espresso — coffeechronicler.com
- What Is Low Acid Coffee? — outin.com
- Profitec | Why your espresso tastes sour and what helps — profitec-espresso.com
- Sour Espresso: Why It Happens and How to Fix It — primocaffe.com.au
- Widen The Espresso Shot Window — cworks.co.uk
- Medium-light roast espresso too acidic — home-barista.com
- Espresso too sour? 6 tips for less acidity! — kaffeemacher.de
- Espresso Too Acidic, How To Fix? — home-barista.com