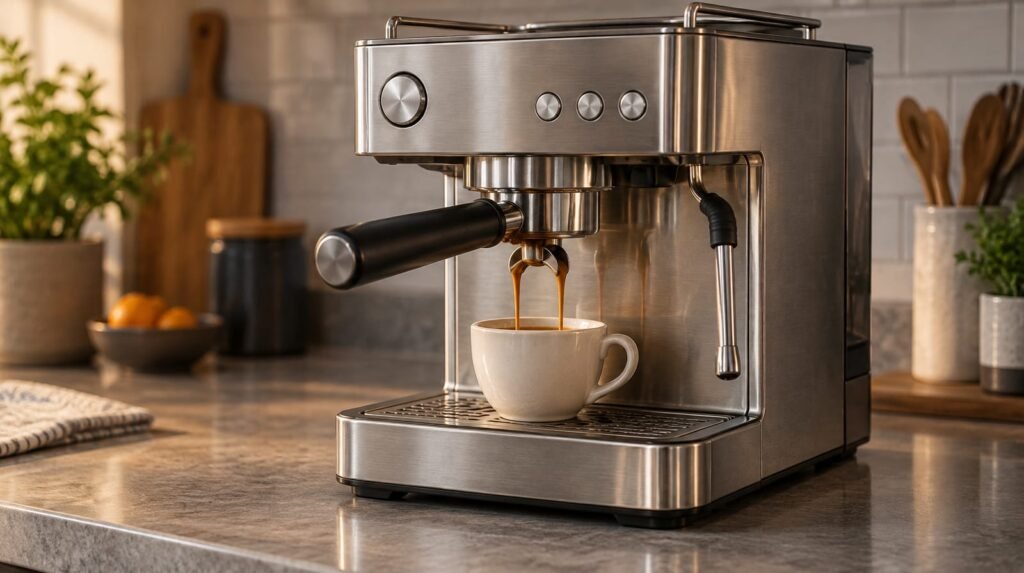
How does an espresso machine work when you press the brew button? In a pump-driven machine, pressure forces heated water through finely ground coffee in the portafilter, producing a concentrated drink.
The heating system also works between drinks. On machines with boiler temperature controllers, the heater switches on and off to maintain the target temperature. Keeping the machine hot consumes electricity even while you leave the brew button alone.
This guide follows the water to your cup, explains what levers and automatic controls change, and connects the process to making a shot. It also traces electricity use through warm-up, brewing, steaming and the gaps between drinks, so you can understand what leaving the machine on involves.
This article was produced with the help of AI and reviewed before publication.
In this article
- How does an espresso machine work at home?
- Choose coffee and understand the small serving
- Make a shot on a semi-automatic machine
- Understand what levers and automatic controls change
- Follow electricity use through an espresso session
- Key points on how an espresso machine works and uses power
How does an espresso machine work at home?
Home and commercial espresso machines share the same operating principles. The pressure source can be a pump, piston or steam, with most contemporary machines using an electric pump. Removable water reservoirs and vibration pumps are common in domestic designs.
The simplified water route in a pump-driven machine is: reservoir or mains supply → pump → boiler or thermoblock → group head → coffee in the portafilter basket → cup.
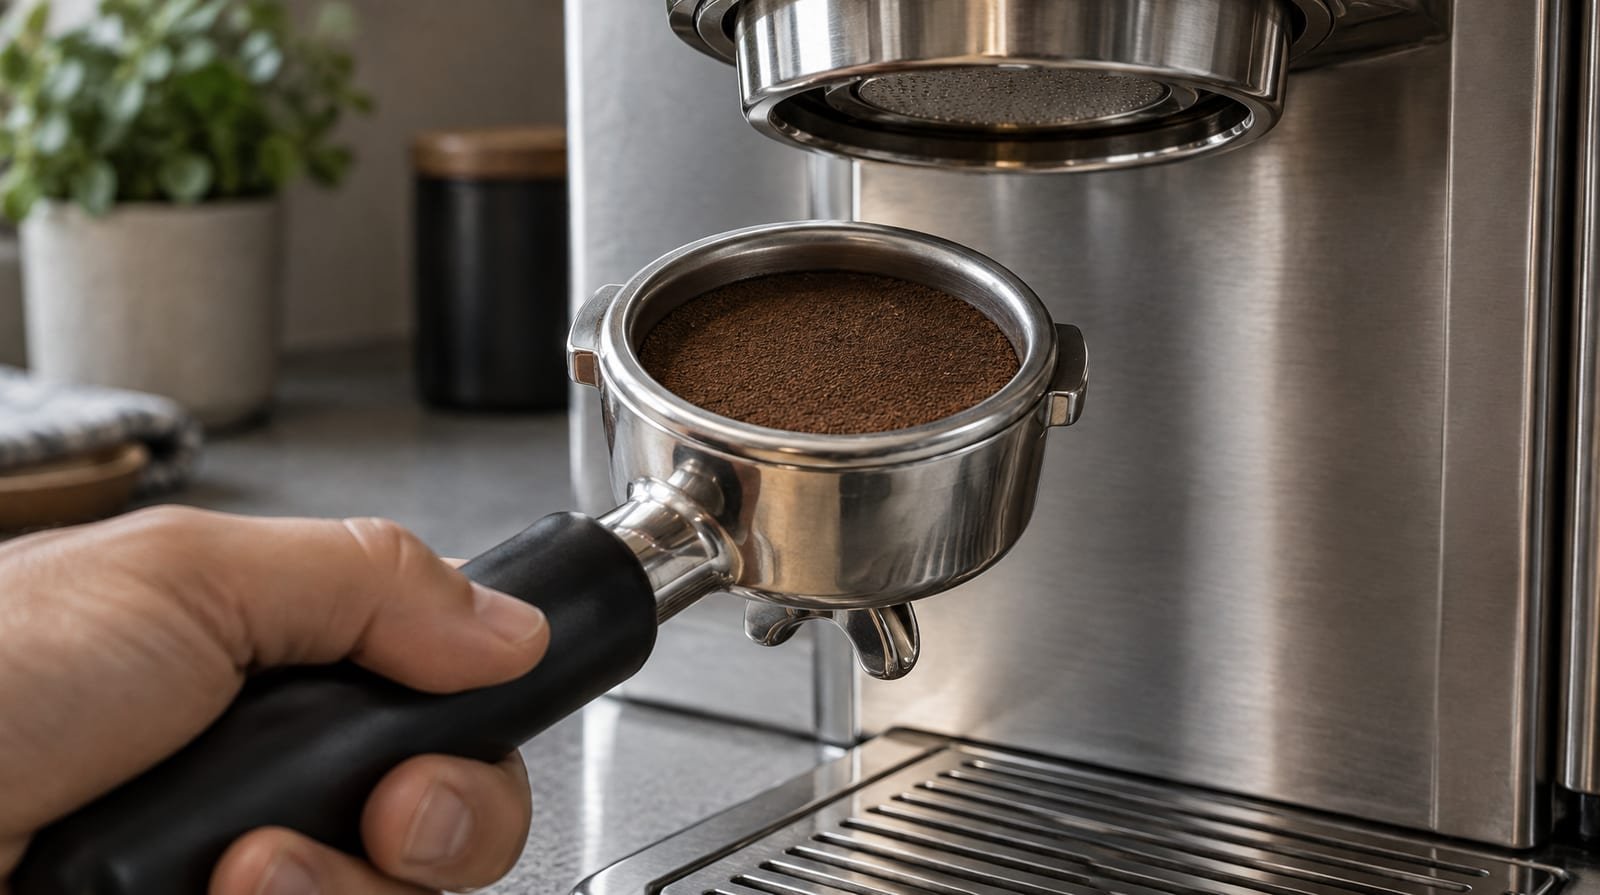
Each part has a separate job. The pump supplies pressure, while the boiler or thermoblock supplies heat. A thermoblock heats water as it travels through, allowing the machine to heat the passing supply.
The group head holds the portafilter and distributes water across the compacted coffee. The portafilter’s handle supports the basket containing the grounds. After passing through that coffee bed, the extracted espresso flows into your cup.
Office Coffee gives a typical brewing-water range of 90–96°C. For pressure, Bialetti describes modern espresso machines as operating at at least 9 bar. West Berkshire Roastery puts the target for most contemporary machines at approximately 9 bar at the puck.
Treat a pump rating as a starting point when comparing machines. The useful pressure measurement is the pressure maintained during extraction, according to Meraki’s gauge guidance. A pump specification alone therefore gives you less useful information about brewing than the pressure sustained at the coffee.
Stopping the brewing control on a semi-automatic machine ends water delivery through the coffee. A three-way valve vents the remaining pressure in the semi-automatic design described by Chris’ Coffee. The drip tray catches surplus water and spills, giving that water a collection point beneath the brewing area.
With the water route clear, the next question is what you put in the basket.
Choose coffee and understand the small serving
Yes, ordinary coffee beans can make espresso. West Berkshire Roastery explains that espresso names the preparation method, rather than a distinct type of bean. Arabica, Robusta and blends of both are suitable.
The grind needs to be fine and consistent, with its fineness suited to your basket, according to West Berkshire Roastery. Uneven particles can let water find easier routes through the coffee, causing uneven extraction and poorer flavour.
The grounds also provide resistance to water flow. HowStuffWorks explains that finer grinding slows the flow and that changing grind size changes extraction time. Think of the grind as a way to control how readily water crosses the coffee bed.
Serving size and basket capacity belong together. Instructables distinguishes baskets for single, double and triple shots. West Berkshire Roastery’s starting double-shot recipe uses 18 g of grounds in an 18 g basket, producing 36 g of espresso.
Does espresso contain more caffeine than a cup of coffee? Usually, no. MyWirsh estimates approximately 60–75 mg in a 30 ml espresso serving, compared with approximately 90–120 mg in a 240 ml brewed coffee.
MyWirsh describes espresso as more concentrated in caffeine, while the larger coffee serving usually contains more overall. For a useful comparison, consider the whole serving. MyWirsh also notes that bean choice and the quantity of coffee used affect caffeine content.
You can now turn that starting recipe into a complete brewing routine.
Make a shot on a semi-automatic machine
- Fill the reservoir to its specified level with fresh, cold water.
- Switch the machine on and allow it to warm before preparing the coffee.
- Warm the brewing path with the clean portafilter attached, where your manual permits this. Meraki explains that a ready light can appear before the group head and portafilter are fully warm. Only flush if your machine’s manual instructs you to.
- Remove the portafilter and dry the basket before adding grounds.
- Grind the coffee finely for espresso. West Berkshire Roastery recommends adjusting the texture to suit your grinder and basket.
- Weigh 18 g of grounds into an 18 g basket, following West Berkshire Roastery’s starting double-shot recipe. For a different basket capacity, use an appropriate dose.
- Distribute the grounds evenly across the basket before tamping.
- Tamp vertically with steady, even force, keeping the coffee surface level.
- Clear loose grounds from the portafilter rim before fitting it.
- Lock the portafilter into the group head.
- Place a cup beneath the portafilter outlets.
- Activate the brew control and begin timing. West Berkshire Roastery suggests 25–30 seconds as a starting guide, counted from pump activation on many machines.
- Check the flow during extraction. For the next shot, West Berkshire Roastery recommends a finer grind if a watery extraction finishes in 10–15 seconds. Go coarser if it only drips and takes 45 seconds or longer. Keep the dose steady while adjusting the grind.
- Switch the brew control off when the measured espresso reaches 36 g, West Berkshire Roastery’s target output for this recipe. Use output weight to stop brewing and elapsed time to guide your next adjustment.
- Discard the spent coffee puck, then rinse and dry the portafilter.
That routine gives you a basis for comparing how much of the work other machine types take over.
Understand what levers and automatic controls change
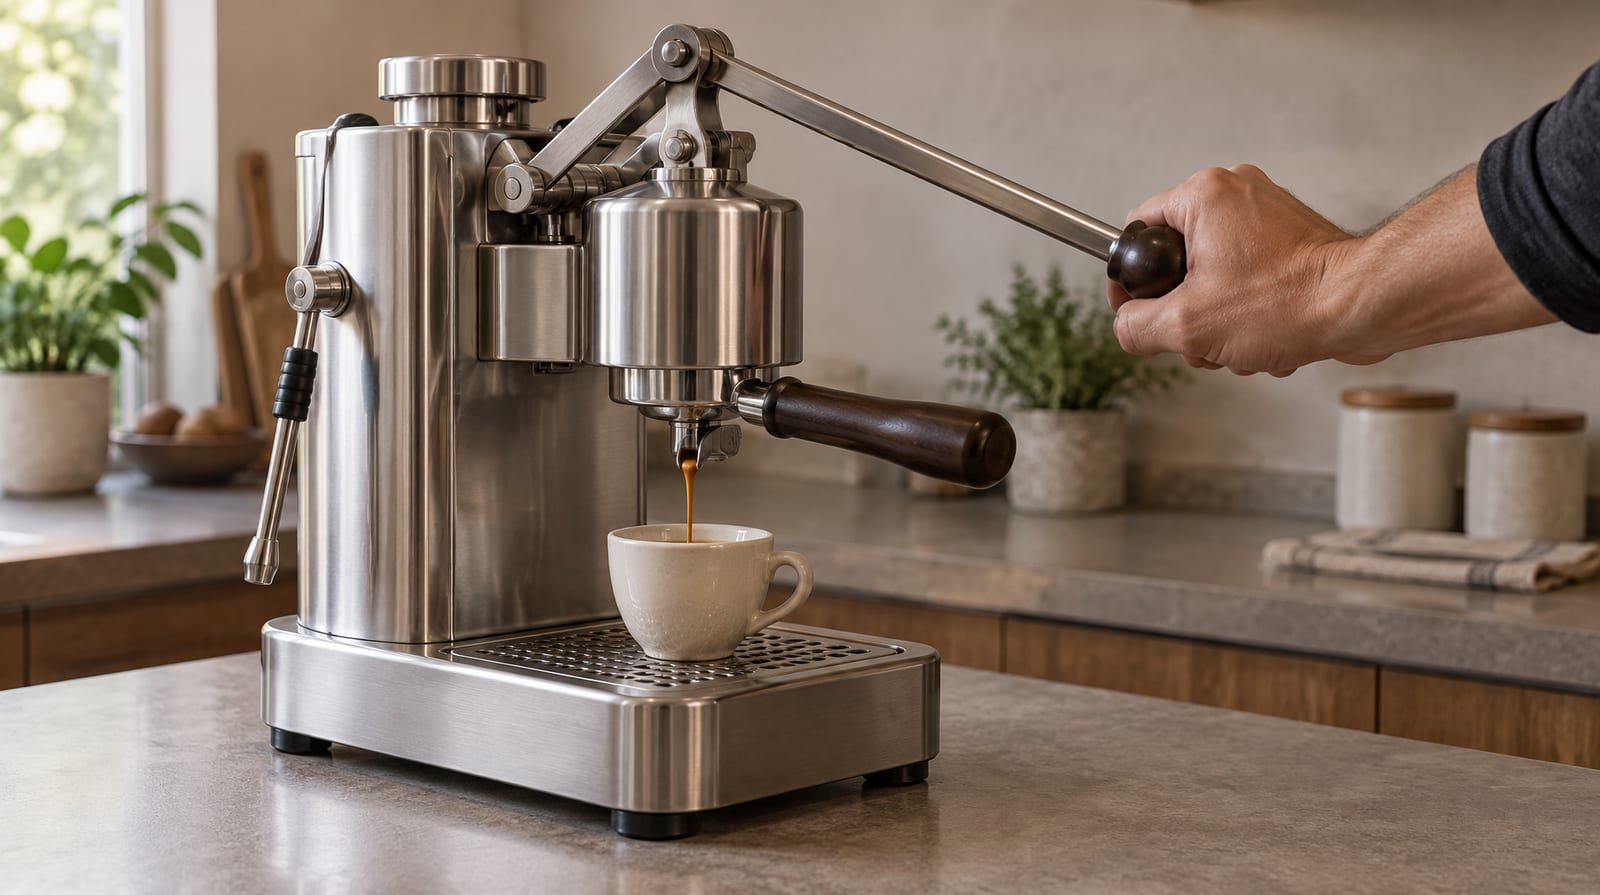
Where manual espresso machines get their pressure
Traditional manual machines create brewing pressure with a lever and piston rather than an electric brewing pump. In a direct-lever design, your muscular effort drives the piston. A spring-lever design stores your effort in a compressed spring. As that spring expands, it drives the piston and forces water through the coffee.
Manual pressure can still involve electrical heating. CoffeeGeek describes traditional lever machines that use electricity to heat boiler water and regulate its temperature. Non-electric designs need water supplied separately: its Handpresso example requires you to add boiling water.
Steam-driven machines use steam pressure to push water through the grounds. A steam wand has a separate job: it heats and textures milk. Having a wand therefore tells you about milk preparation, while the brewing mechanism determines what creates extraction pressure.
What automatic machines do for you
An automatic machine starts its pump when you press a button and stops after delivering a preset water volume. Chris’ Coffee describes a flowmeter signalling the pump to stop once the target quantity has passed. This suits you if you want the machine to handle the stopping point.
A super-automatic, or bean-to-cup, machine also grinds the beans, moves the grounds into its brewing chamber and compresses them. It extracts the shot, stops at a preset water quantity and ejects the spent puck into an internal waste container. Some super-automatic machines also foam and dispense milk.
Choose a lever if you enjoy supplying the brewing force yourself. Choose automatic shot stopping to delegate that decision, or bean-to-cup preparation to hand over more of the coffee-making work.
The controls explain your involvement in each drink. Now consider the whole session, including the time between drinks.
Follow electricity use through an espresso session
From warming up to brewing and steaming
During warm-up, an electrical resistance element converts electricity into heat. During extraction, a vibration pump’s pressure-producing work is confined to shot preparation. These are separate electrical jobs within the session.
The heating arrangement determines how brewing and steaming fit together. A single-boiler, dual-use machine shares one chamber between both functions. It needs time to reach the higher steaming temperature and cannot brew and steam simultaneously.
A heat-exchanger machine keeps its boiler at steaming temperature while indirectly heating brewing water to a lower temperature. A dual-boiler machine has separate brewing and steam boilers, allowing brewing and milk frothing together. For milk drinks, that overlap is the practical advantage.
Boilerless flow-heater designs rapidly heat small quantities of water without keeping a large store hot between extractions. Barista Hustle attributes their lower idle consumption to this arrangement. For occasional drinks spread through the day, that makes idle demand worth weighing alongside brewing and steaming convenience.
Between drinks and at shutdown
Barista Hustle reports that heat maintenance or standby accounts for approximately three-quarters of typical coffee machines’ energy consumption. It also explains that large, uninsulated boilers lose considerable heat to the surrounding air. So a machine left hot spends most of its energy simply staying hot. In one study Barista Hustle cites, insulating the boiler alone cut a machine’s energy use by 38%.
- Keep between-shot group head purges to the quantity needed for their purpose. Barista Hustle reports that using smaller purge volumes can substantially reduce electricity consumption.
- Switch the machine off between sessions. Barista Hustle recommends switching off during periods of nonuse to substantially reduce home electricity consumption.
Key points on how an espresso machine works and uses power
Your useful starting point is a repeatable recipe. West Berkshire Roastery recommends keeping the dose steady while adjusting grind size to simplify diagnosis of brewing problems. That gives you a manageable way to learn how your adjustments affect the shot.
Think about electricity over the whole session, too. Barista Hustle reports that maintaining operating temperature uses much more energy than preparing coffee. It also recommends switching home espresso machines off during periods of non-use. For separate drinking sessions, switching off is therefore a practical default.
Sources
- How Does A Coffee Machine Work: Creating The Perfect Espresso — office-coffee.co.uk
- How Do Espresso Machines Work? — perfectdailygrind.com
- Espresso Ready in 3 Minutes vs Thermally Ready: Spotting the Gap — merakitech.com
- How Espresso Machines Work — home.howstuffworks.com
- How Does an Espresso Machine Work? — chriscoffee.com
- How Do Espresso Makers Work: Tips & Tools — pesado585.com
- How the Moka works: lift the lid and discover all its secrets — bialetti.com
- Can You Make Espresso with Regular Coffee Beans? (Yes — wbroast.co.uk
- Espresso Machine Pressure Gauges: Reading the Needle — merakitech.com
- Manual vs. Automatic vs. Super Auto; It — coffeegeek.com
- How to Use an Espresso Machine ~ Pulling Shots, Steaming Milk, and More! — instructables.com
- Espresso vs. Brewed Coffee: Comparing Caffeine — mywirsh.com
- Ten First Steps for a New Espresso Machine — coffeegeek.com
- Espresso machine — en.wikipedia.org
- Tiny Coffee, Massive Bills — baristahustle.com