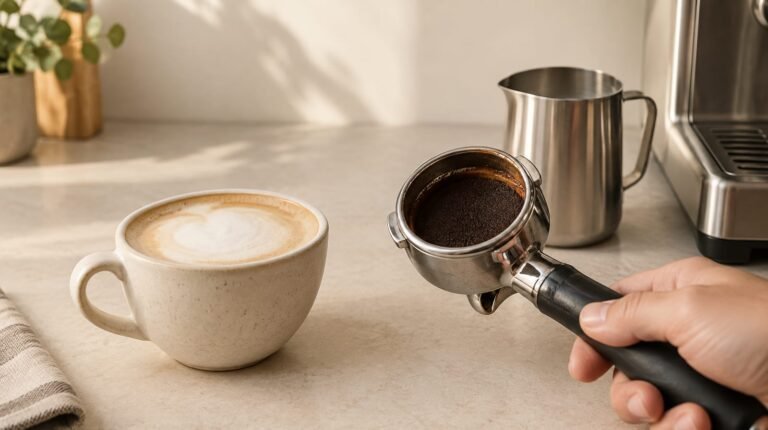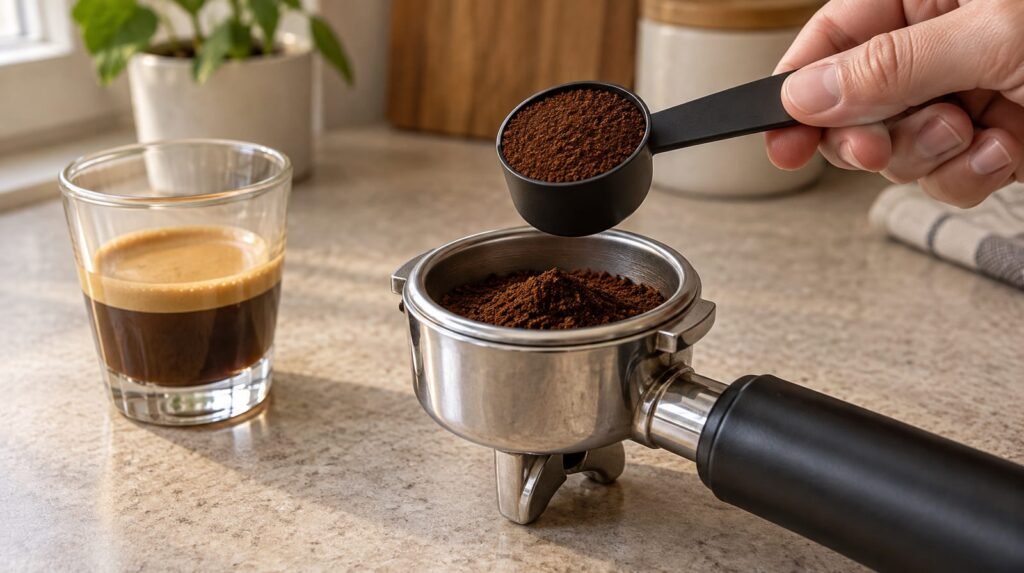
You can dial in espresso without a scale using a repeatable basket fill, visual flow cues and taste. The aim is a shot you enjoy—not a guessed weight dressed up as precision.
Your basket determines the approach. Cworks recommends standard baskets for freshly roasted whole beans and pressurised baskets for pre-ground coffee. It also advises against judging pressurised-basket extraction by shot time, so the two routes need different targets.
This guide separates those routes and explains how to use basket and cup references, whether you have a previously weighed recipe or are starting without one. Treat a cup mark as a practical reference, not proof of a brew ratio: crema changes the volume. The goal is to make useful adjustments without turning a missing scale into a shopping problem.
This article was produced with the help of AI and reviewed before publication.
In this article
- Choose your basket and measuring references
- How to dial in espresso without a scale
- Repeat a recipe you calibrated before putting the scales away
- Make repeatable shots with a pressurised basket
- Decide whether you need scales for your next improvement
- Choose a thin scale only if you want to add weighing
- Keep the result that tastes right
Choose your basket and measuring references
Match the basket to your coffee
For the fresh-bean, standard-basket route, grind size is your main adjustment: Cworks says it lets you tune extraction and flavour. That makes this the better route when you want to adjust the espresso rather than simply repeat a drink.
For older beans, Cworks recommends a pressurised basket too. Treat that as the practical alternative to the fresh-bean route, alongside the pre-ground option.
Choose a repeatable dose and cup reference
Without scales, use a scoop or basket-height reference for the grounds, and a marked cup for the drink. These are working references, not gram measurements. Serious Eats describes scoop measurements as imprecise; Clive Coffee explains that different bean densities make volume less accurate than weight.
- Choose one scoop and one filling style as your provisional dose reference. Avoid alternating between level and heaped fills: Outin notes that spoon filling changes the dose.
- Record the levelled grounds’ height against the basket rim, optionally with a photograph. Cera Cafe uses this visual reference after weighing a calibration dose; without that calibration, treat yours as provisional.
- Choose a visible mark or feature on the same espresso cup as your stopping reference, following Cera Cafe’s cup-reference approach.
Prefer the basket-height reference when judging the fill, and use the scoop to reproduce it. Neither that fill nor a cup mark proves a brew ratio. With the crema-related uncertainty, keep the mark as a repeatable stopping point rather than a weight conversion.
How to dial in espresso without a scale
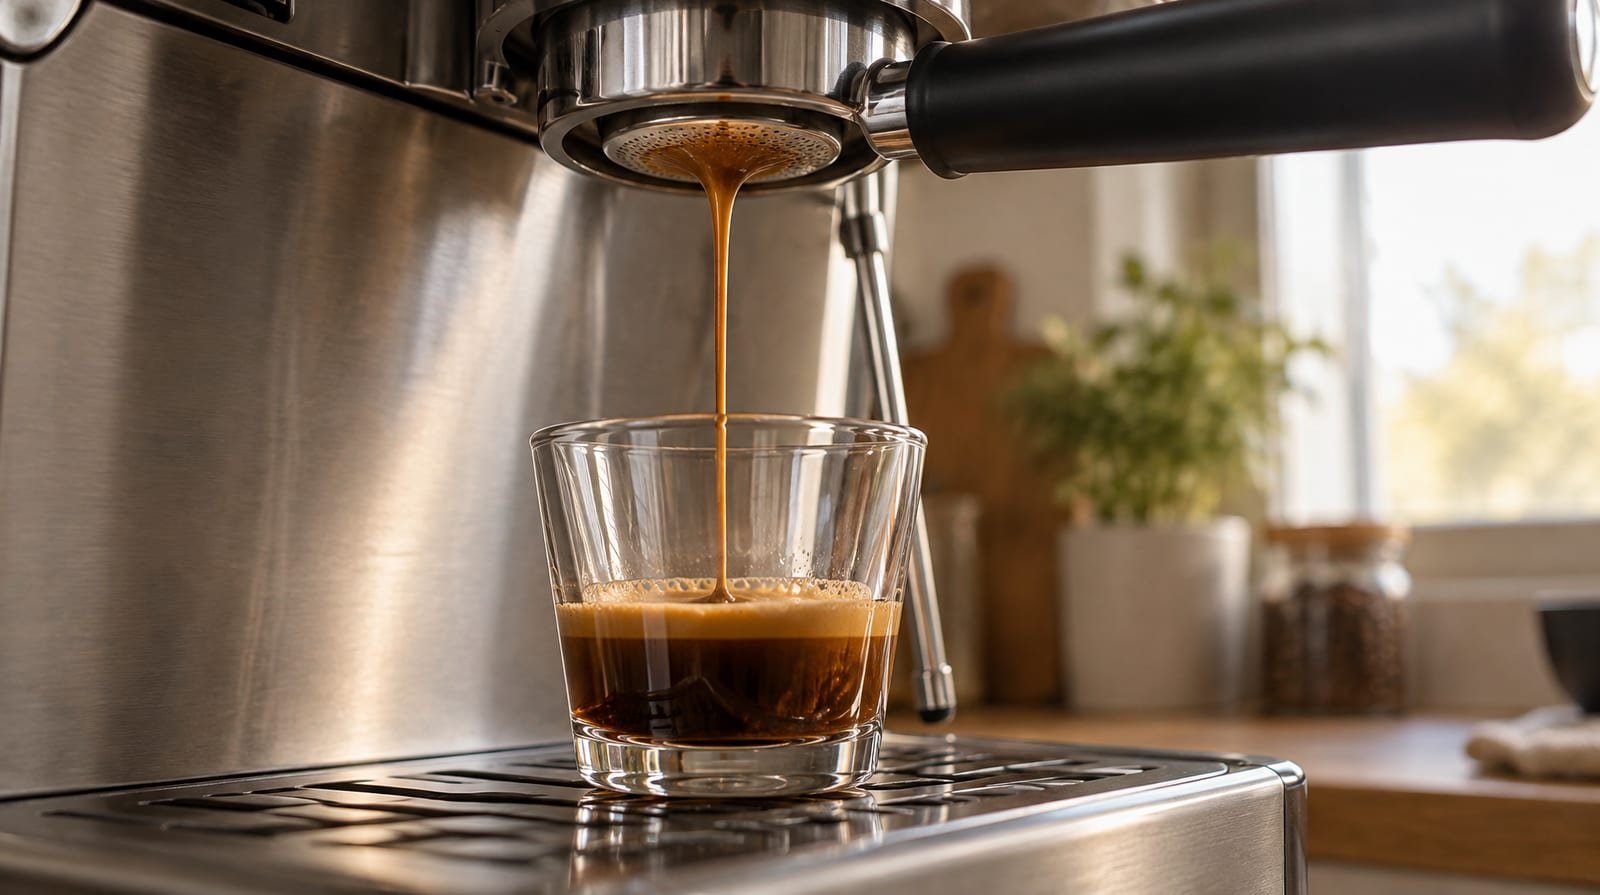
Use this routine with a standard basket and an adjustable grinder. The aim is to find a useful starting grind, then improve the taste while keeping your provisional fill and cup reference steady.
Warm the machine and set a provisional fill
Give warm-up a fair chance before judging the grinder. Cworks says inadequate warming can partly explain an unusually fast first espresso. Its warming shortcut uses a coffee-free shot through a pressurised basket, which still creates resistance when empty.
For the initial grind, CoffeeGeek recommends a texture slightly finer than fine table salt. Treat that as a starting cue, not proof that the setting is right. CoffeeGeek’s method assumes weighing to 0.1 grams; the routine below adapts its sensory checks rather than reproducing its measured recipe.
Pull to a cup mark and taste
Cworks recommends a 20–35-second guide for standard baskets with freshly roasted whole beans, followed by judgement through taste. For a clear timing convention, The Only Nanu’s beginner guide measures from switching the machine on until the shot ends. Use that convention consistently, rather than starting at the first drip.
Watch the flow as well as the clock. Cera Cafe describes a promising extraction as initially dark and slow, developing into a narrow, steady stream. Almost immediate, pale flow suggests an overly coarse grind; a long wait followed by sparse dripping suggests an overly fine one.
Change one variable and repeat
Start with grind adjustments rather than changing the fill, stopping point and grind together. Cera Cafe recommends changing only one brewing variable between attempts. Holding your visual references steady gives each adjustment a clearer purpose, even though this remains an unweighed routine.
- Warm the machine before the first trial. If you have a pressurised basket available, Cworks recommends running a coffee-free shot through it to help warm the machine; then fit your standard basket.
- Set a provisional grind slightly finer than fine table salt, using CoffeeGeek’s starting texture. Do not assume that another coffee will need the same setting: CoffeeGeek says coffees respond differently to grinding.
- Fill the basket to your provisional levelled-height reference. Keep that fill unchanged while testing the grind, rather than adding extra coffee to correct a fast shot.
- Prepare an even coffee bed. Cera Cafe recommends distributing the grounds and tamping evenly; make preparation consistent before judging the next grind adjustment.
- Fit the portafilter and place your reference cup beneath it. Barista Essentials includes securing the portafilter and positioning the cup before starting extraction.
- Brew to your chosen cup mark, starting the timer when you switch the pump on and stopping it when brewing ends. Note the duration against Cworks’ 20–35-second guide, but use it as supporting information, not the sole verdict.
- Stir the espresso before tasting it. The Only Nanu recommends stirring rather than merely swirling, and tasting unsuccessful shots too, so each attempt provides feedback.
- Choose one correction from the combined flow and taste. Cera Cafe recommends finer grinding for a fast, weak, sour shot, or coarser grinding for a slow, harsh, dry, bitter one. If it tastes both sour and bitter, address uneven distribution and tamping first: Espresso Aficionados associates that combination with channeling.
- Repeat the shot with the same fill and cup mark after that single correction. If a grind change seems to do little, try another shot before changing again: The Only Nanu notes that retained grounds can obscure an adjustment.
That routine starts with provisional references. If you recorded a weighed recipe before putting the scales away, you have a different starting point.
Repeat a recipe you calibrated before putting the scales away
Choose this route if you can calibrate before travelling, or already have records from a successful weighed recipe. The aim is to preserve that starting point, rather than choose a new dose by eye.
Record the basket height, grinder setting and cup mark
Cera Cafe’s example uses 15 g for a double espresso in a 58 mm basket. Treat that as its example, not a universal dose for every basket.
Its beverage target is 30 g, which Cera Cafe approximates as 30 ml. Keep that cup reference alongside the basket photograph and grinder setting: together, they describe the recipe you are trying to repeat.
Brew again using the recorded references
Use the following sequence for Cera Cafe’s calibrated route. The cup mark is a reference, but its recommended stopping cue is blonding: the stream becoming pale and straw-coloured.
- Weigh your calibration dose while scales are available. For Cera Cafe’s 58 mm double-basket example, use 15 g; do not transfer that dose automatically to a different basket.
- Level the coffee in the basket and photograph its height relative to the rim, following Cera Cafe’s calibration method.
- Record the grinder setting as the number of clicks from zero. Cera Cafe describes this approach for a stepped grinder such as the Ceramite.
- Identify a cup mark or feature at roughly 30 ml for Cera Cafe’s example, and keep the same cup with your recipe records.
- When brewing without scales, grind at the recorded setting.
- Fill the basket to the photographed height, distribute the grounds and tamp evenly.
- Start brewing and watch the stream, using the cup mark as your volume reference rather than making elapsed time the stopping rule.
- End extraction when the stream turns pale and straw-coloured. For the manual button operation described by Cera Cafe, release the button to stop.
- Taste the espresso before choosing a correction. Cera Cafe recommends finer grinding or hotter water for sharp, thin sourness, and coarser grinding or cooler water for ashy, dry bitterness.
- Change only one variable before repeating the brew. Choose either grind or temperature, so the next taste can guide your decision.
- If using a Ceramax, configure extraction duration in its app after identifying the blonding stopping point.
Set an automatic duration after finding the stopping point
Treat the saved duration as a convenience for the recipe you have just established, not a reason to ignore the stream or taste. CoffeeGeek notes that coffee age affects grinding behaviour even when the coffee type stays unchanged. A recorded setting is therefore a starting point, not a promise that no further adjustment will be needed.
The pressurised-basket route needs its own routine, rather than another version of the grind adjustments above.
Make repeatable shots with a pressurised basket
For this basket, aim to repeat a drink you enjoy rather than reproduce a standard-basket recipe. Cworks says conventional grind-led dialling in is not available with pressurised baskets. Treat the routine below as a controlled taste comparison instead.
Keep the coffee, fill and cup reference consistent
For your pre-ground or stale coffee, keep the coffee and basket unchanged during the comparison. Use the same scoop fill and cup reference for each attempt. The stopping point is the only deliberate change.
- Fill the pressurised basket with the same coffee, using an equally filled scoop and the same provisional levelled height each time.
- Distribute the grounds evenly across the basket, as Cera Cafe recommends for puck preparation.
- Tamp the coffee evenly, following Cera Cafe’s preparation advice.
- Secure the portafilter in the machine.
- Place your reference cup beneath the portafilter.
- Start brewing, watching the level in the cup rather than aiming for a particular elapsed time.
- Stop brewing when the drink reaches your chosen cup reference.
- Stir the espresso before tasting, as The Only Nanu recommends.
- Taste the drink and note whether you would prefer it unchanged, less sour or less bitter.
- Choose the next stopping point while leaving the coffee and fill unchanged. As a taste experiment, try slightly more output for sourness or slightly less for bitterness; keep the reference unchanged if satisfied.
Judge the drink rather than chasing a shot time
The output experiment follows Espresso Aficionados’ flavour guidance: increase output relative to the dose for sour espresso, or reduce it for bitter espresso. It is a direction to test, not a promise that changing the stopping point will fix every pressurised-basket drink.
Compare each attempt with the previous one. If the change helps, use the new cup level as your reference; if it does not, return to the previous stopping point. Do not change the fill at the same time: that would turn a stopping-point comparison into a different experiment.
Decide whether you need scales for your next improvement
Keep a tasty result rather than chase a number
Do you really need scales? Not merely to keep making a drink you enjoy. The Only Nanu recommends keeping a successful recipe rather than changing it just to meet a suggested shot duration.
Choose weighing when your next goal is checking quantities rather than finding an enjoyable taste. Mantabrew explains that weighing the finished espresso helps verify a 1:2 brew ratio. Outin says recorded weights let you reproduce the quantities behind a successful brew.
Recognise when visual references stop being useful
Yesterday’s references are starting points, not promises. CoffeeGeek says ambient temperature and humidity affect grinding behaviour. It also says darker roasts generally flow faster than medium or lighter roasts at the same grinder setting.
Clive Coffee explains that freshness and roast level change espresso volume. That makes a familiar cup mark less useful when comparing different coffees: matching the level is not the same as matching the recipe.
- Repeat an unexpectedly unchanged shot before making another grind adjustment. The Only Nanu recommends this check because retained grounds can mask the effect of the new setting.
You need not start with dedicated coffee scales. Serious Eats says ordinary kitchen scales can substitute, although many cannot measure below 5 g and coffee scales offer finer precision. For small, deliberate dose changes, that limitation makes kitchen scales a less useful choice.
If weighing now answers a specific need, the next question is which scale fits your machine—not simply which has the most features.
Choose a thin scale only if you want to add weighing
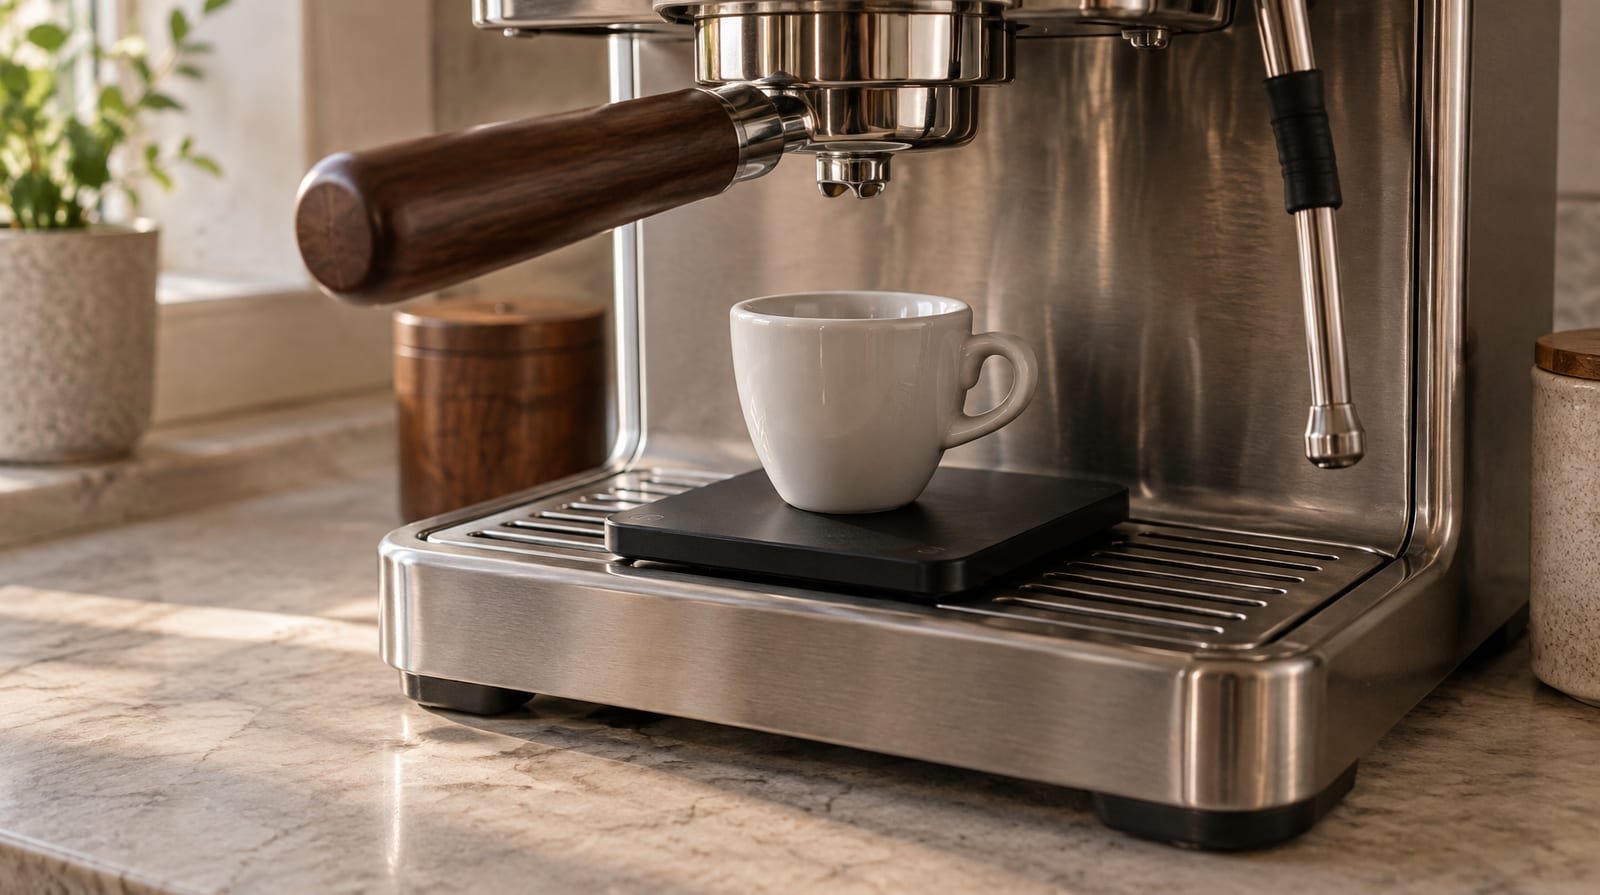
Check tray support and cup clearance
Thinness alone is not enough. In Irvin Lin’s Serious Eats testing, overhanging Acaia Pearl and Pearl S scales became unstable and gave incorrect readings.
- Check that your drip tray can support the scale securely without unstable overhang.
- Check that your cup will fit on the scale beneath the portafilter.
Compare the Weightman with an espresso-focused alternative
Lin found the Weightman and Acaia Lunar compact and low-profile. However, he did not recommend the Weightman because its display was difficult to read. His top espresso scale with a timer was the Lunar.
Ubuy specifies a 1,000 g capacity, 0.1 g increments and an integrated timer for the WEIGHTMAN. If you choose to add weighing, favour the Lunar on Lin’s verdict rather than choosing by thinness alone.
Keep the result that tastes right
An enjoyable recipe is worth keeping rather than changing merely to meet a suggested brewing time, as TheOnlyNanu’s Medium guide advises.
Treat basket height and cup marks as repeatability aids, not weight measurements. Clive Coffee explains that bean density affects volume-based dosing, while freshness and roast level change espresso volume.
The practical recommendation is to keep using your basket-specific routine while it produces coffee you enjoy. Add weighing when accurate quantities become the goal: Serious Eats identifies weighing as necessary for accurate coffee-to-water measurements. A missing scale need not turn your next shot into a shopping decision.
Sources
- How to Dial In Espresso Without a Scale — ceracafe.com
- Four Quick Espresso Hacks — cworks.co.uk
- Do You Really Need a Coffee Scale for Espresso? (Spoiler: Yes) — mantabrew.com
- I Tested 15 Coffee Scales to Find the Best Ones for Pour-Overs and Espresso Shots — seriouseats.com
- Why a Coffee Scale Matters — clivecoffee.com
- Is It Worth Getting a Coffee Scale — outin.com
- Dialing in Espresso in Three Shots — coffeegeek.com
- A Beginner Guide to Dialing in Espresso — theonlynanu.medium.com
- Espresso at home: Why a coffee scale is key — barista-essentials.com
- Dialling In Basics — espressoaf.com
- WEIGHTMAN Espresso Scale with Timer 1000g x 0.1g, Bangladesh — ubuy.com.bd